Golgari Scapeshift is a combo based strategy that is trying to ramp to 5 or 6 lands with a Spelunking on the board. The first goal is to bargain Beseech the Mirror to search for Scapeshift. The lands you need for the combo are 2 Lotus Fields, 1 Mystic Sanctuary, 1 Gingerbread Cabin, 1 Festering Gulch, and 1 Hidden Necropolis. First step is to tap all the lands but Hidden Necropolis for mana. You sacrifice Both Lotus Fields, Mystic Sanctuary, and Festering Gulch to the Lotus Field enters triggers. You use Mystic Sanctuary to put the Beseech the Mirror back on top of your library. You use all the mana to pay into Hidden Necropolis to recast Beseech the Mirror sacrificing the food you made from Gingerbread Cabin to search and cast Splendid Reclamation. Return all the lands and repeat the previous steps but instead put Splendid Reclamation on the top and cast that with Hidden Necropolis. From this point you only need to keep putting Splendid Reclamation back on top since the win condition is the infinite reentering of Festering Gulch to deal 1 damage to your opponent.
Key thing to keep in mind if you are forced to tack a hand with Mystic Sanctuary or other combo based lands. We have access to Echoing Deeps incase that occurs. You play Mystic and sacrifice it to Scapeshift and have Deeps counts as that land.
DECK LIST

MAIN DECK
Creature Breakdown
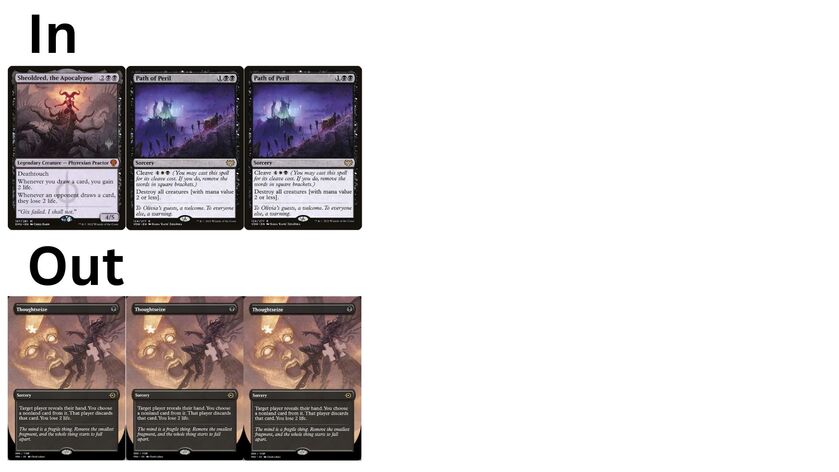
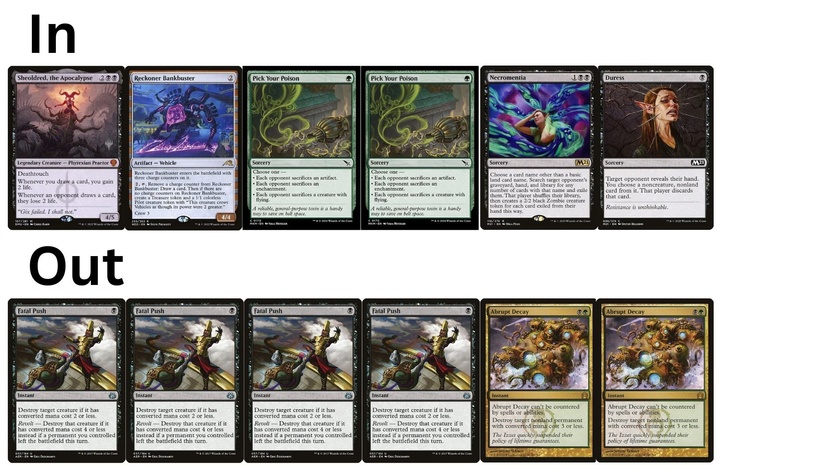
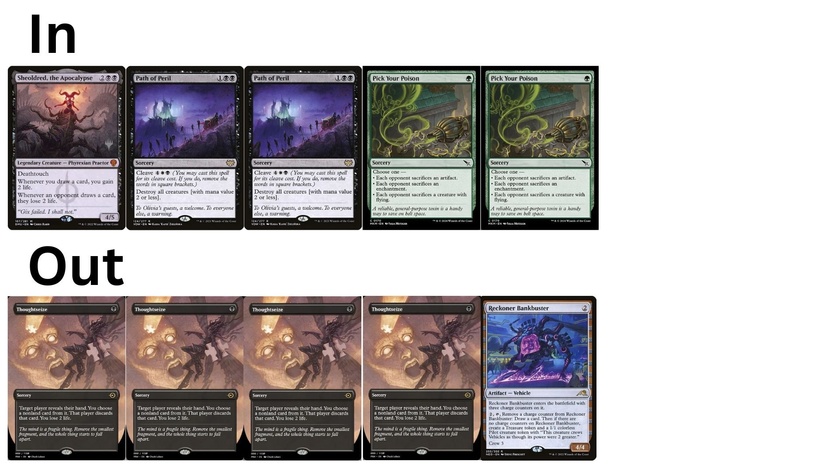
Sheoldred, the Apocalypse: Playing one copy of her in the main board. She provides and alternative way to win the game if you can't win by the combo game one. It can be tutored by Beseech the Mirror.
Noncreature Breakdown
Core Pieces: We are running four copies of Beseech the Mirror, which allows us to find our one of Scapeshift or Splendid Reclamation that creates the infinite loop.Running four copies of Spelunking to make sure as we go through the loop our lands enter the battlefield untapped.
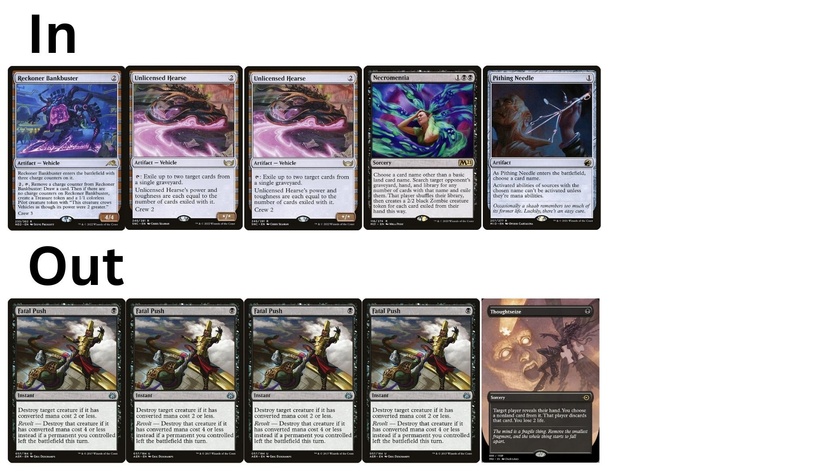
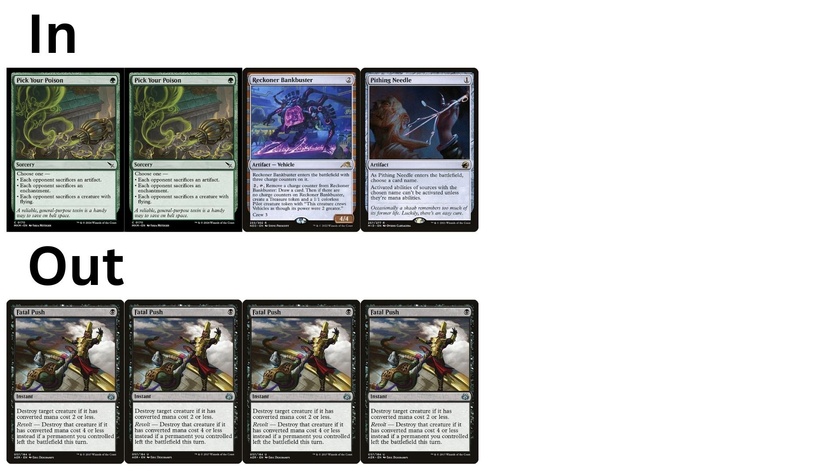
Setup Pieces: Running four copies of Mazemind Tome because they help dig for our combo pieces, which are Spelunking and Beseech the Mirror. We are also running two copies of Reckoner Bankbuster to help dig for our pieces. The key reason these items are important is because they can be used for Bargain with Beseech the Mirror.
Heaped Harvest: Can be sacrificed to Beseech, while also ramping us to a combo kill.
Pillage the Bog: Is a nice new piece that digs pretty deep to find the pieces we need to win the game.
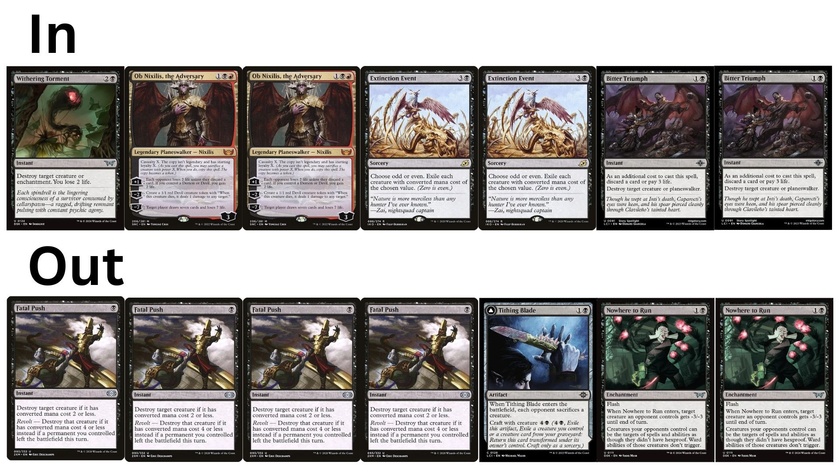
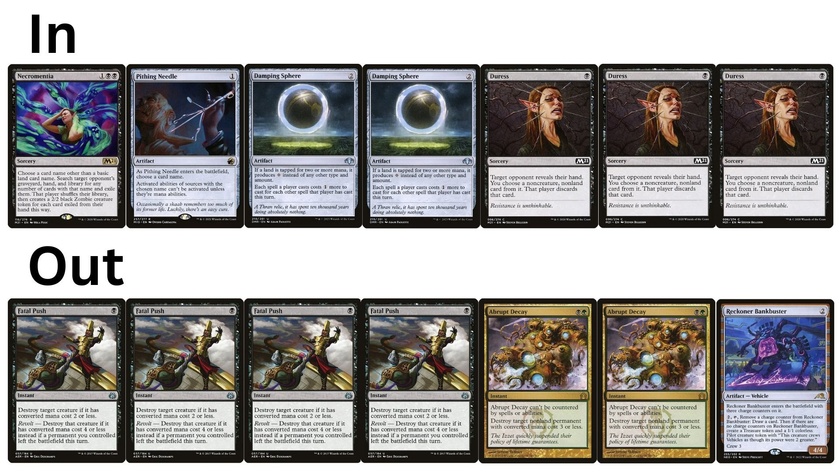
Removal Suite: We are running four copies of Fatal Push and two copies of Abrupt Decay to answer small threats to make us stay alive long enough to assemble the combo win.
Thoughtseize: Hand hate that can removal cards that can interact with our combo or to stop our opponent from executing their game plan.
Sideboard Breakdown
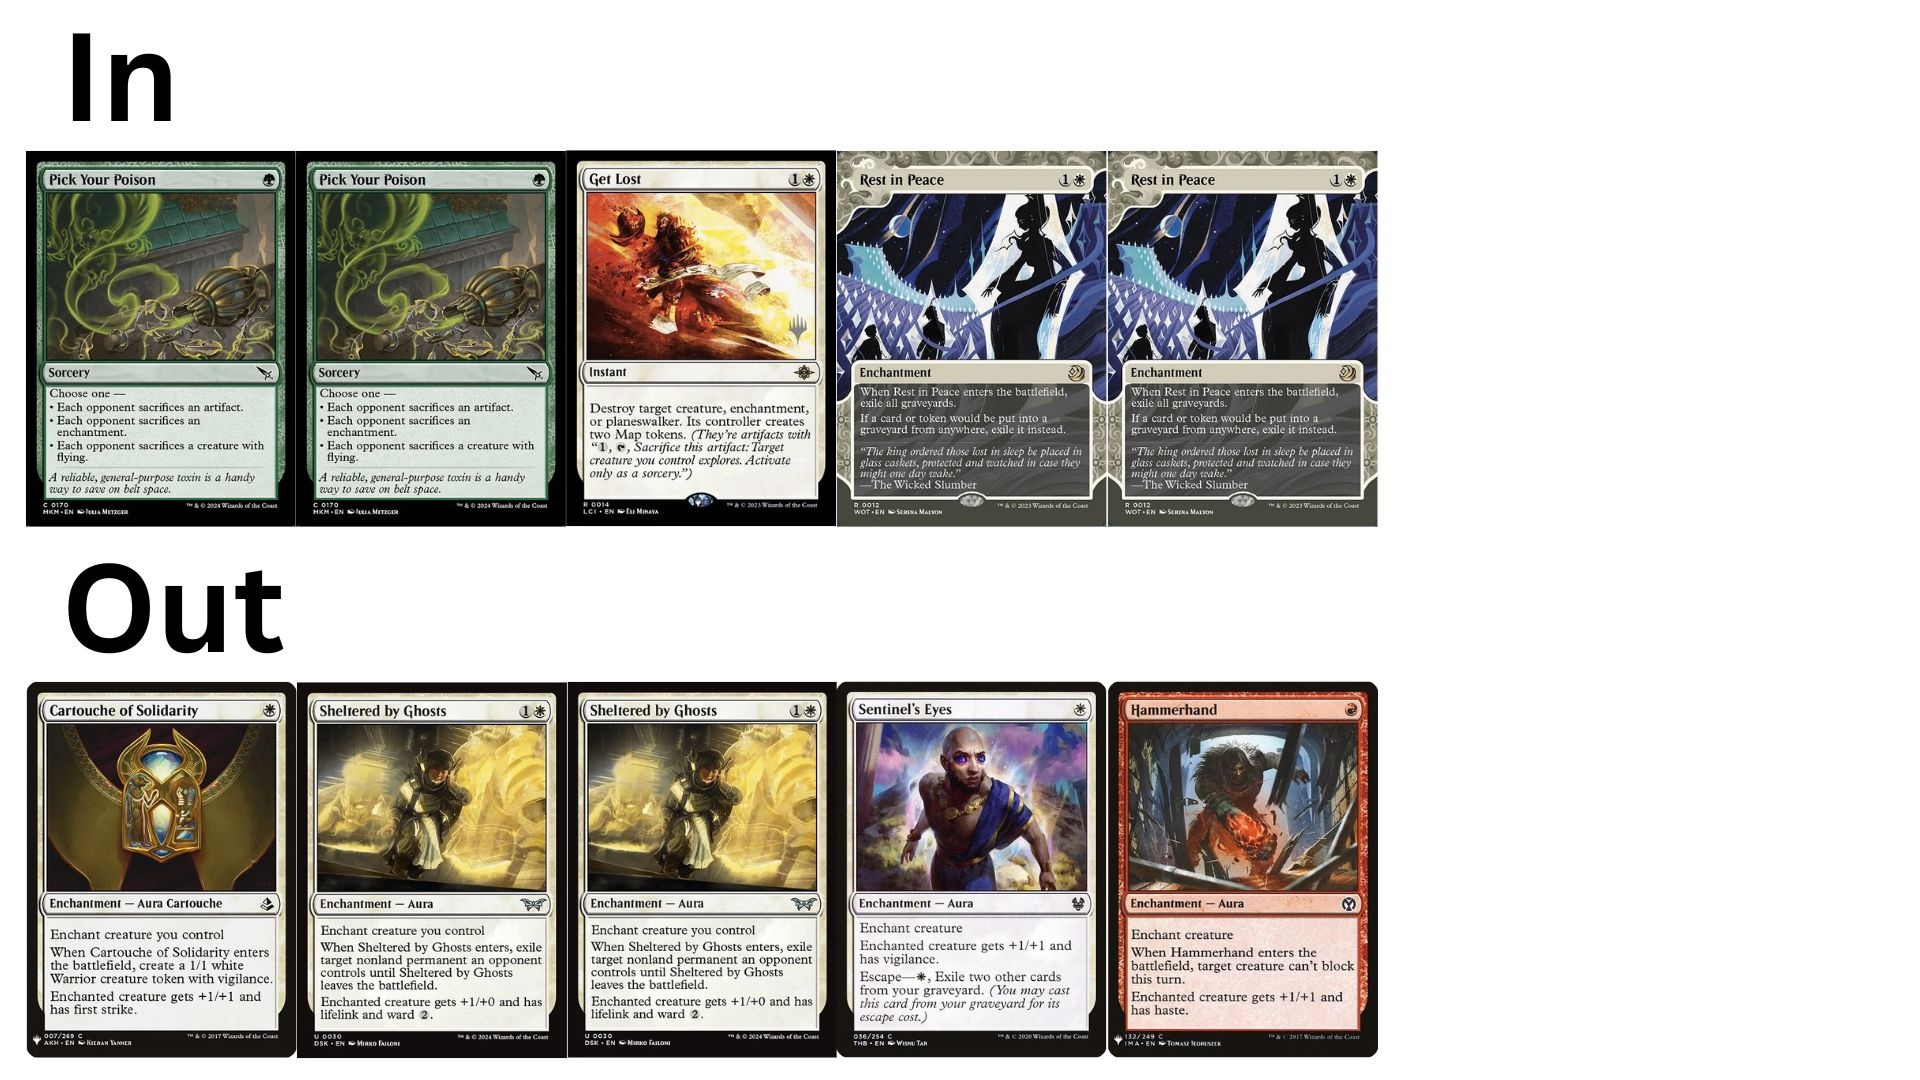
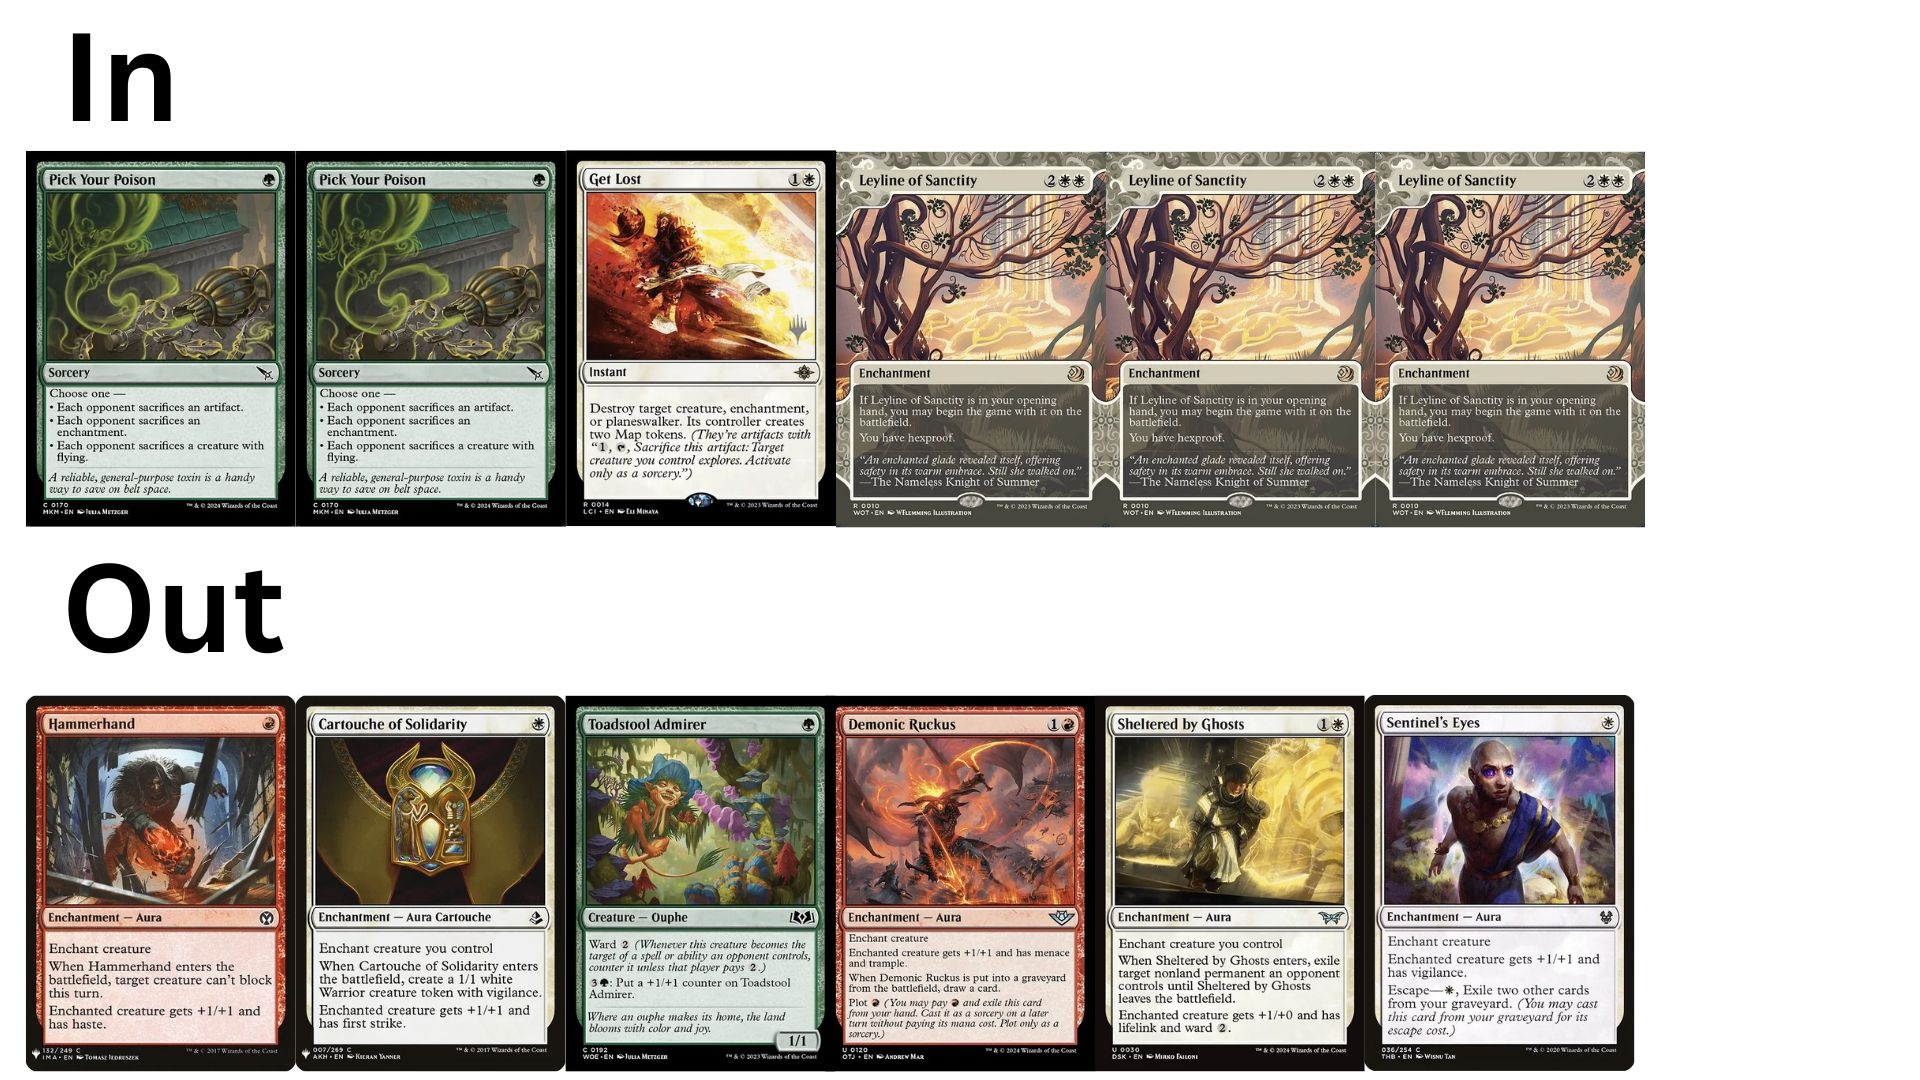
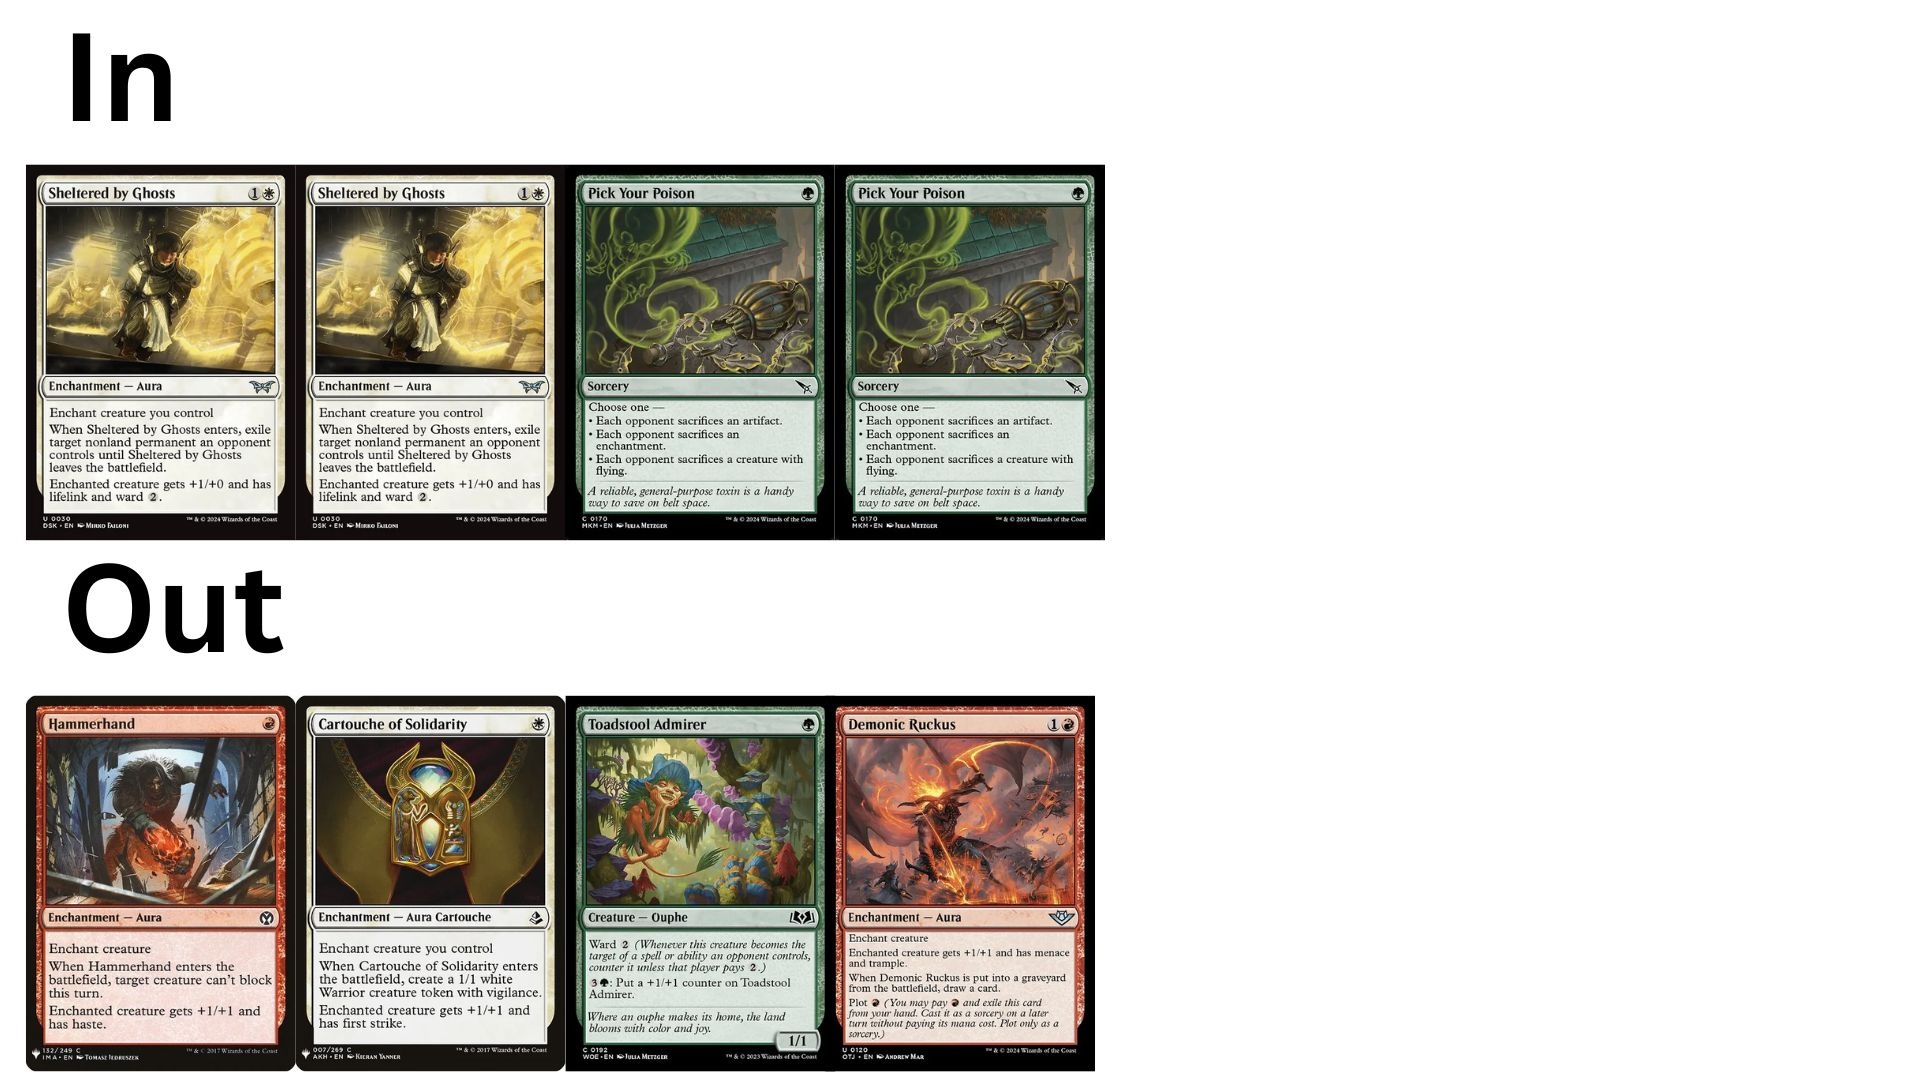
Removal Suite: Two Pick Your Poison to hand Angels or cards that interact with our combo like Rest in Peace. Two Path of Peril to handle fast aggro decks that can get under our combo.
Graveyard Interaction: Running two copies of Unlicensed Hearse to slow down Phoenix and Greasefang matchups.
Sheoldred, the Apocalypse: Running additional copy of her if we face a matchup where we can't rely on our combo to win the game.
Pithing Needle: Used to shut down Sorin and other problematic planewalkers.
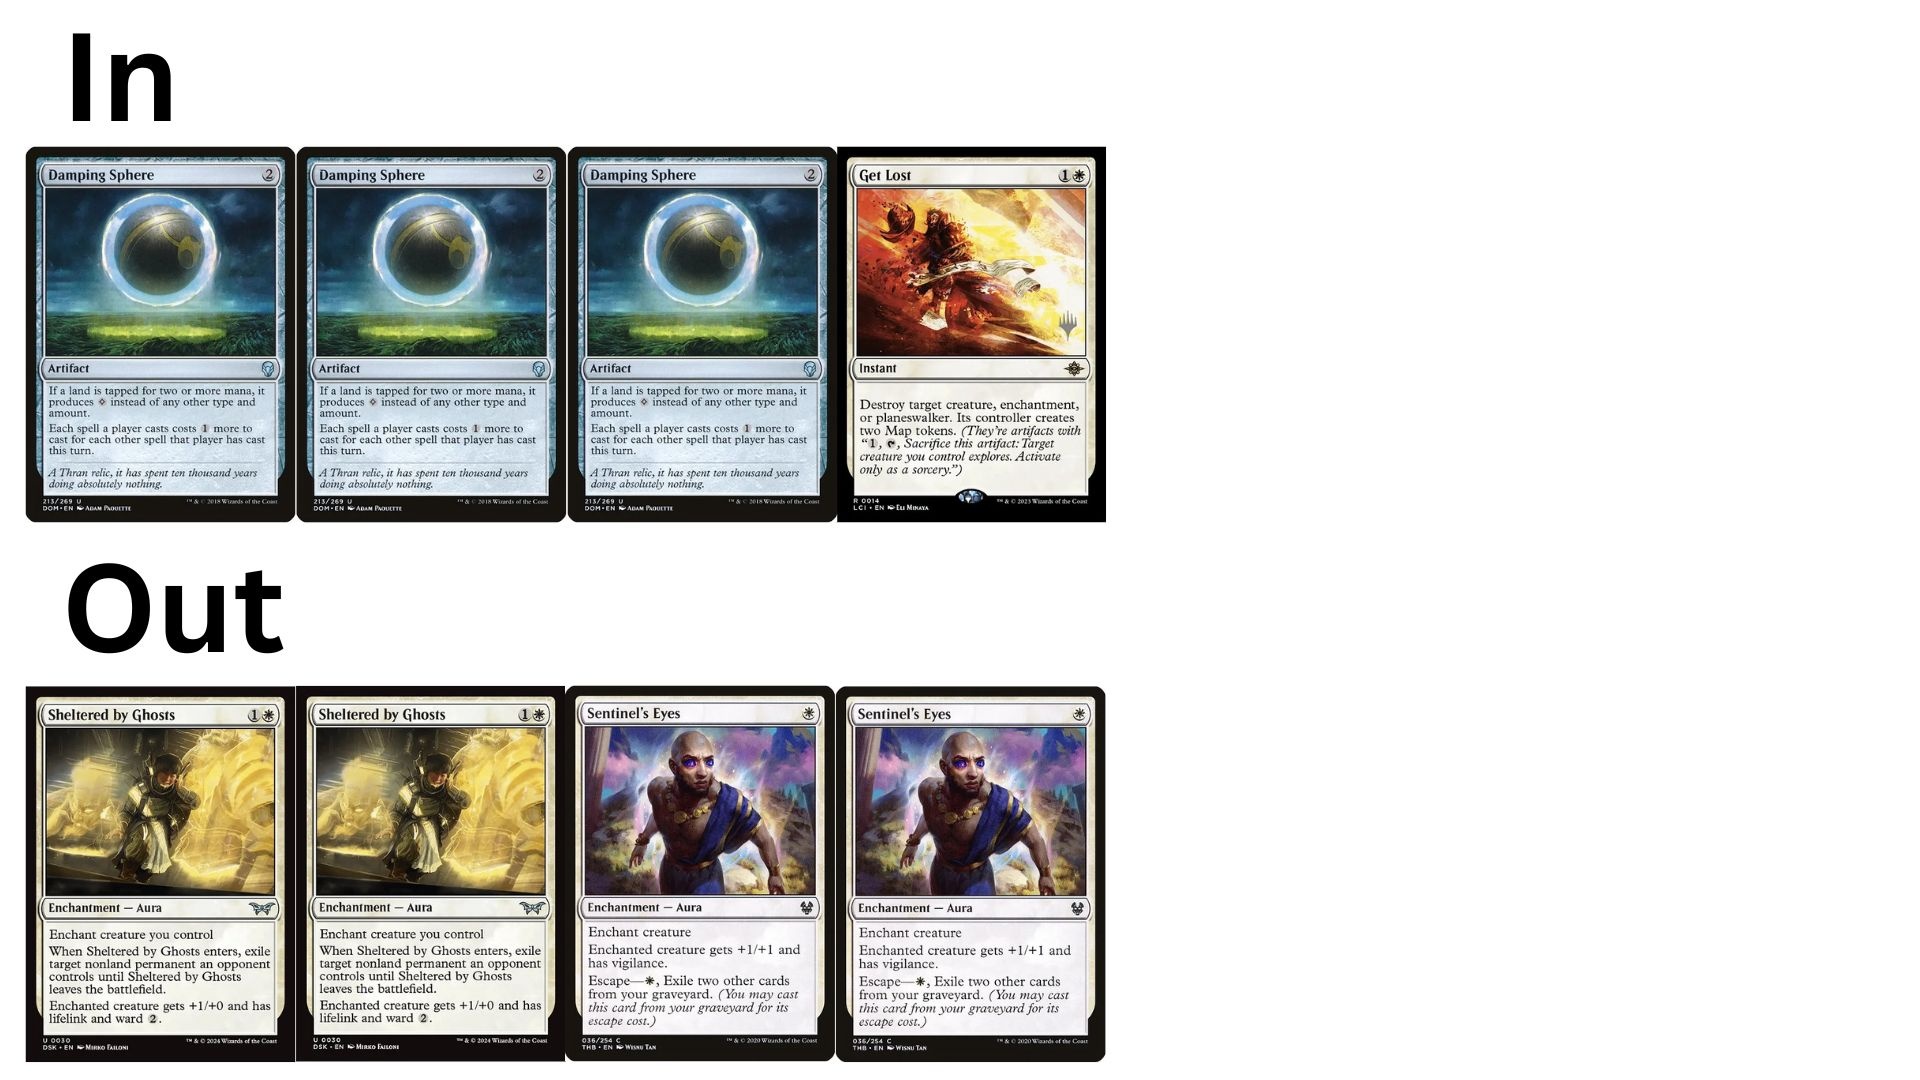
Damping Sphere: Running two copies to slow down Lotus Field and Quintorius.
Reckoner Bankbuster: Running 1 additional copy of Bankbuster if we face a matchup that Fatal Push isn't optimal.
Necromentia: Helps remove their win condition or removes their ability to answer our combo.
Duress: Additional discard effects to help against control and most combo decks.
Sideboard Guide
Rakdos Prowess
 Azorius Control
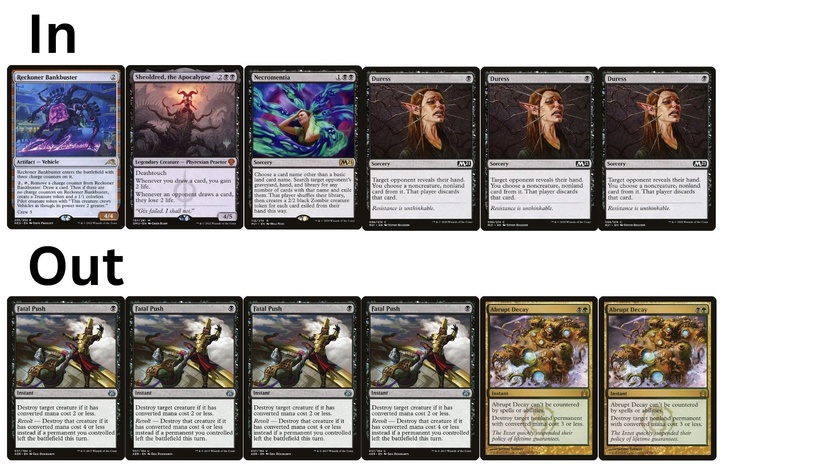
Izzet Phoenix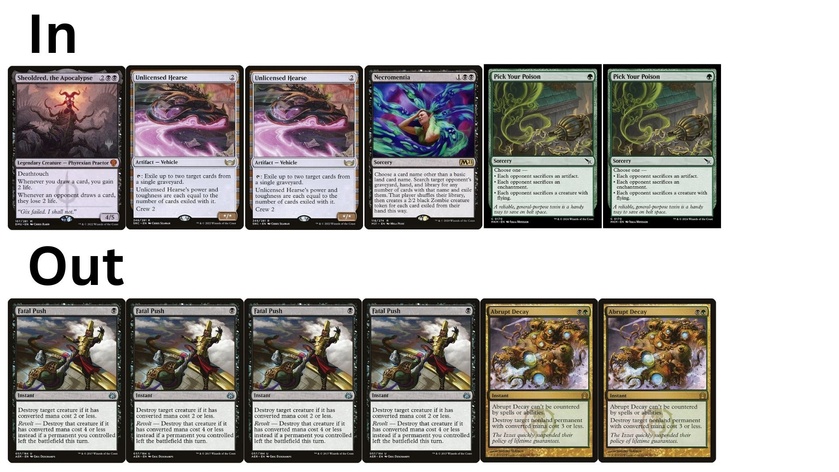
Jund Sacrifice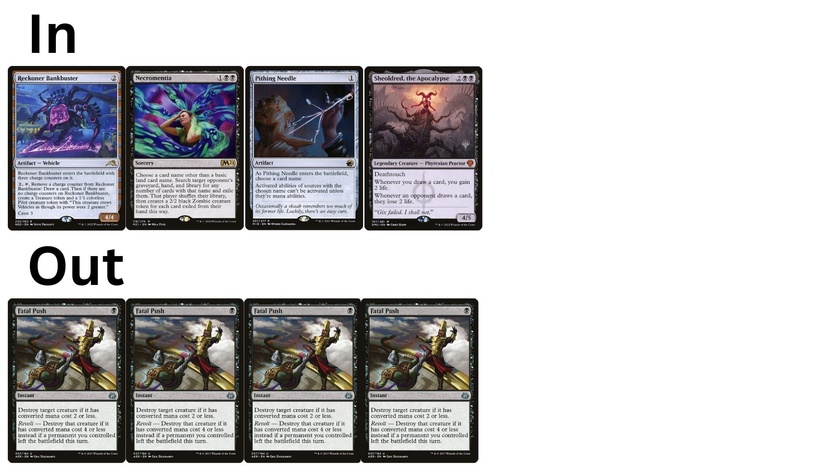
Enigmatic Incarnation
Next we will cover non tier one decks that you might face.
Rakdos Midrange/Transmogrify
Lotus Field
Abzan Greasefang
Green Devotion

Azorius Spirits
Angels

Mono Black Demons

Boros Token Control
Selesnya Company


 Azorius Control
 Mono Black Demons